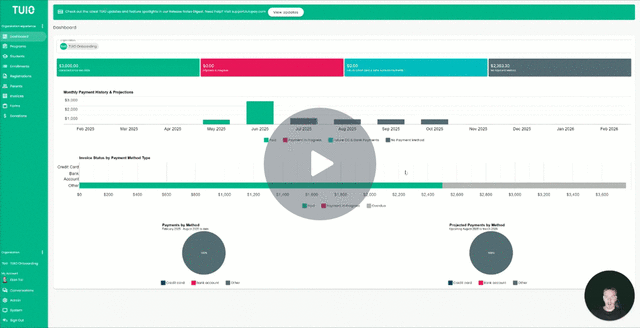
This video walks you through the key points — it’s the best way to understand everything in just a couple of minutes.
Further Reading
Once you’ve created your discounts, you can apply them to student enrollments in TUIO. You also have the option to customize invoices for specific students.
Applying a Discount
Discounts can be applied to one student at a time or to multiple students at once.
Apply a Discount to One Student
-
Go to the Enrollments tab.
-
Click on a student who is not yet enrolled in a payment plan.
-
Select Set Payment Plan & Discount.
-
Choose the discount(s) you’d like to apply.
-
Select one of the following:
-
Update & Notify Parents – save changes and send a notification right away.
-
Update – save changes without notifying parents yet.
-
Alternative path: You can also click the three dots (⋮) next to a student’s row and select Set Payment Plan & Discount.
Apply a Discount to Multiple Students
-
From the Enrollments tab, select multiple students using the checkboxes.
-
Click the Actions button at the bottom of the screen.
-
Select Set Payment Plan & Discount.
-
Follow the same steps as when applying a discount to one student.
Applying Custom Pricing
Sometimes you may want to adjust invoice amounts, due dates, or add unique payments that don’t fit into your standard discounts or payment plans. Custom pricing allows you to do this without creating a new program or plan.
You can apply custom pricing for one student or in bulk.
-
From the Enrollments tab, open a student’s enrollment by either:
-
Clicking on their enrollment,
-
Clicking the three dots (⋮) next to their name, or
-
Selecting multiple students and using the bulk Actions menu.
-
-
Select Set Payment Plan & Discount.
-
Choose a payment plan and click Next.
You’ll see the payment schedule as defined by the selected plan. From here, you can:
-
Add a payment
-
Delete a payment
-
Edit existing payments (amount, due date, discount, invoice text)
Once finished, choose either Update & Notify Parents or Update (without notification).
1. Adding a New Payment
After selecting Set Payment Plan & Discount on an enrollment, you can Click Add Payment, to add another invoice to the payment plan. Then, complete the following fields:
-
Name – e.g., October Partial Invoice, Deposit, New Student Fee.
-
Line Item Detail – optional description for the invoice (e.g., After care services on Sept 13–15).
-
Issue Timing – choose to issue immediately or at a future date.
-
Price – set the invoice amount.
-
Payment Status – Mark as Paid via Cash or Cheque if already paid outside TUIO.
-
Discount – add a custom discount name and amount (if applicable).
2. Deleting a Payment
-
Delete an individual invoice by clicking the three dots (⋮) next to it.
-
Delete multiple invoices by selecting checkboxes and choosing Delete from bulk Actions.
3. Editing an Existing Payment
Click the green invoice name to edit details. You can update all the same fields available when adding a new payment.
Edit multiple invoices by selecting checkboxes and choosing Edit from bulk Actions.