
The video shows an earlier layout. Follow the current steps below.
Further Reading
Using the Content Field in Your Form
The Content field works together with the Heading field to display read-only information on your form. This is useful for providing instructions, guidelines, or other information that you don’t want respondents to edit.
How to Add a Content Field
- Go to the Forms tab.
- Open the form you want to edit, then select Field editor.
- In Available fields on the right, select Create in the appropriate field group.
- Choose the Content option for a custom field associated with a Parent, Student, or Enrollment profile.
Formatting and Features
The Content field supports:
- Hyperlinks
- Images and videos
- Bulleted and numbered lists
- Tables
- Rich text formatting
You can also paste text directly from a Word document into the Content field, and it will retain the original formatting, making it simple to bring over existing form content without extra work.
Save and preview your changes
Use Save in the Field editor to keep your changes, or Cancel to discard unsaved changes. Preview both the online form and its generated PDF, since their layouts can differ.
Start a new PDF page
Add a Page break field where the following content should start on a new page in the PDF. The editor shows it as a dashed rule. It does not display a question when a parent fills in or views the online form and is excluded from CSV report data. A page break at the end does not add a blank final page.
Use headings and content for instructions, and page breaks for PDF layout. Conditional logic is available on supported custom questions, not line-break or page-break fields. See How to show form questions conditionally.
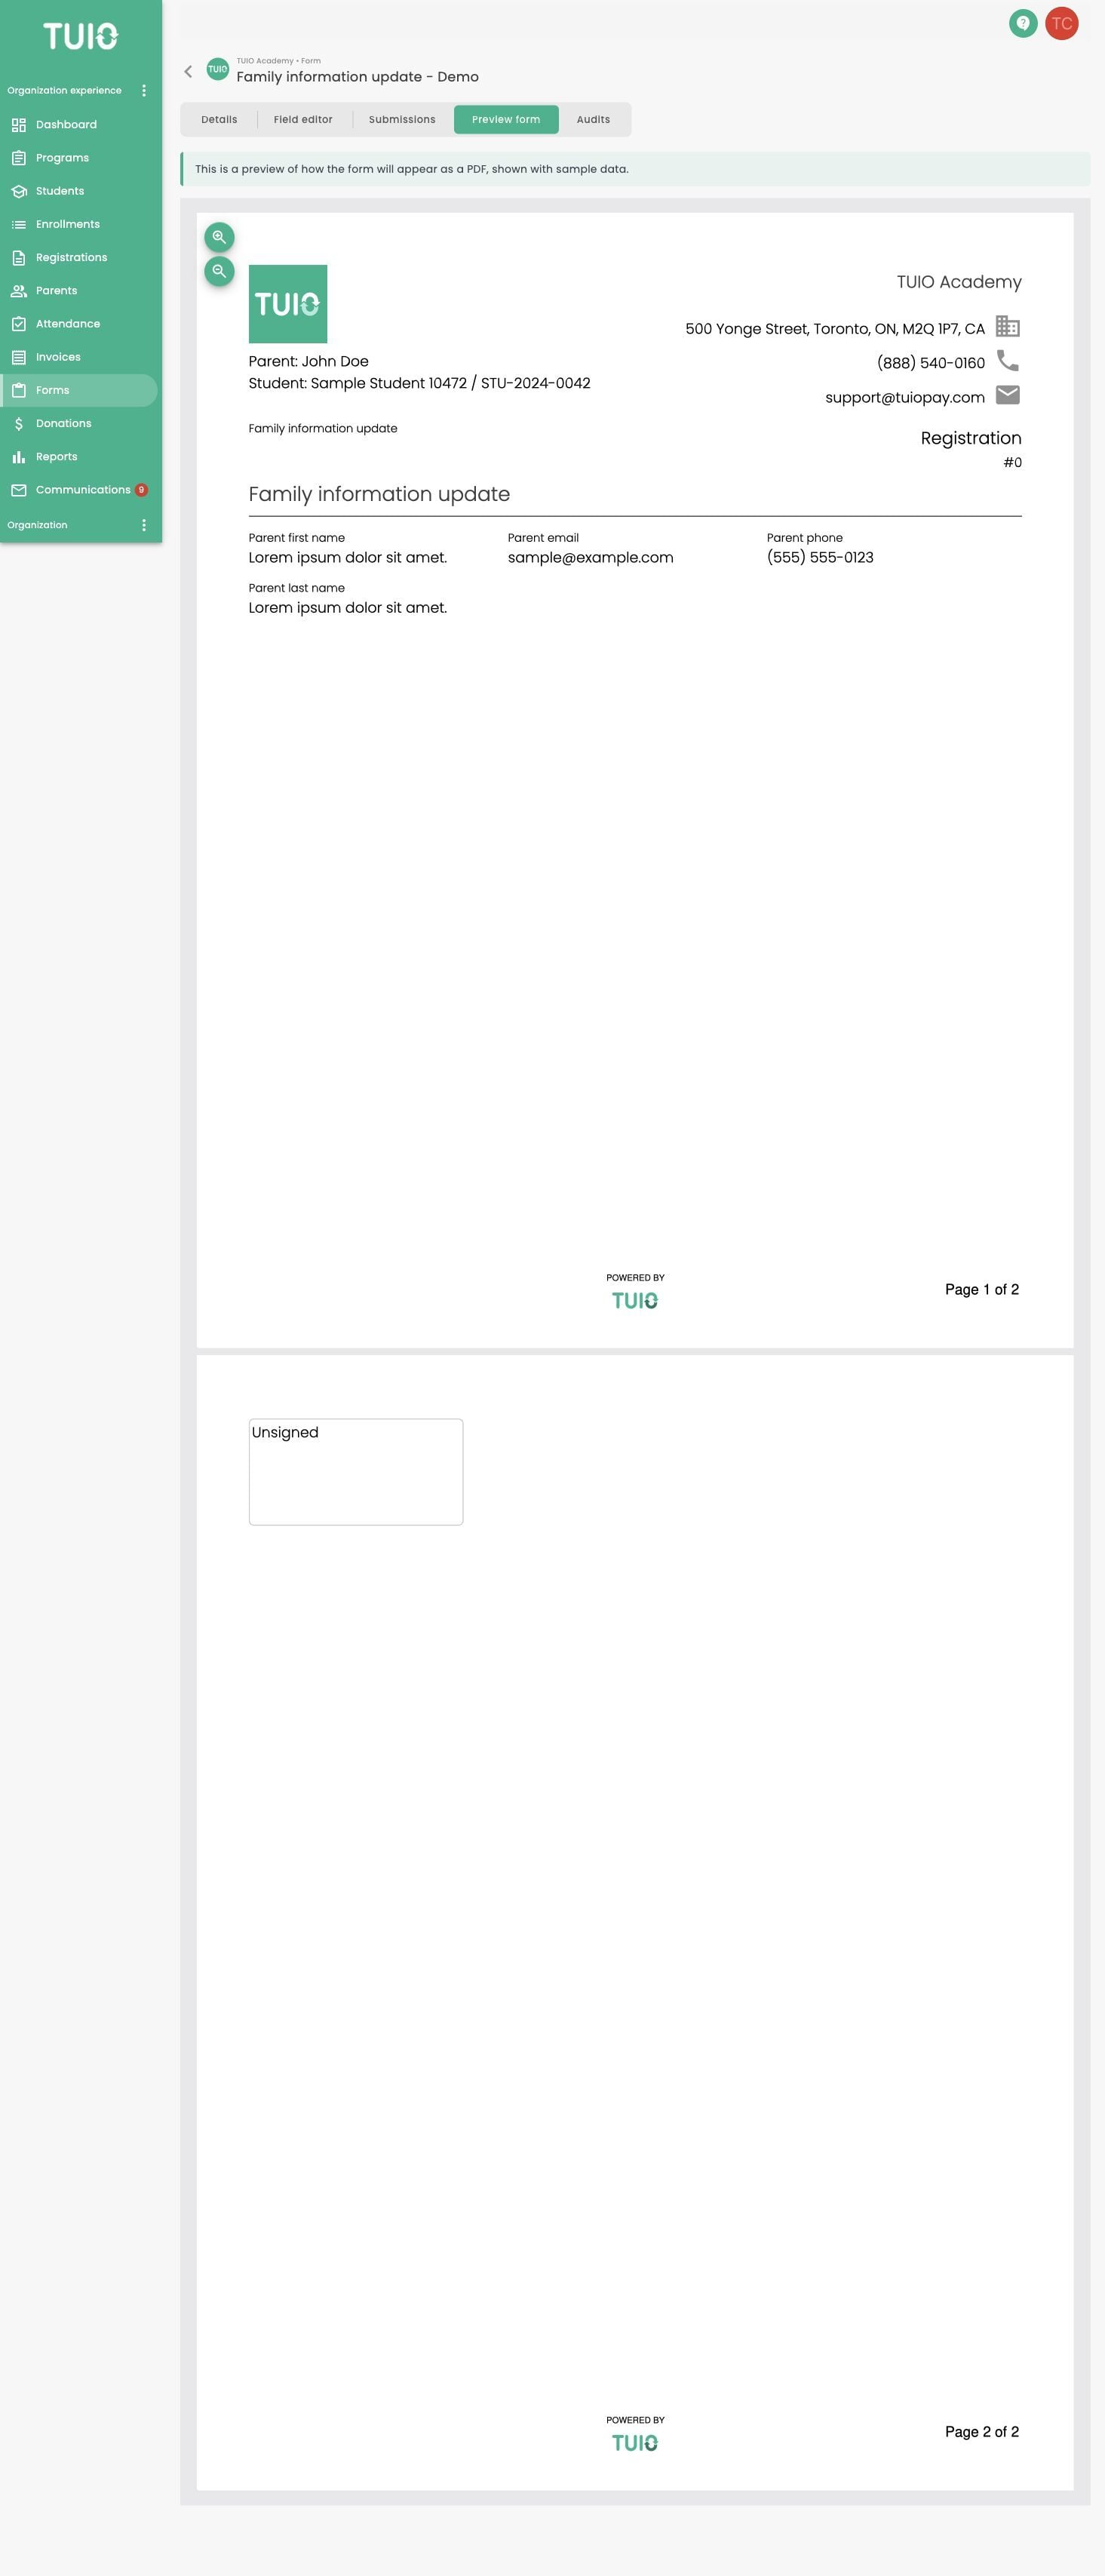
Two-page PDF example
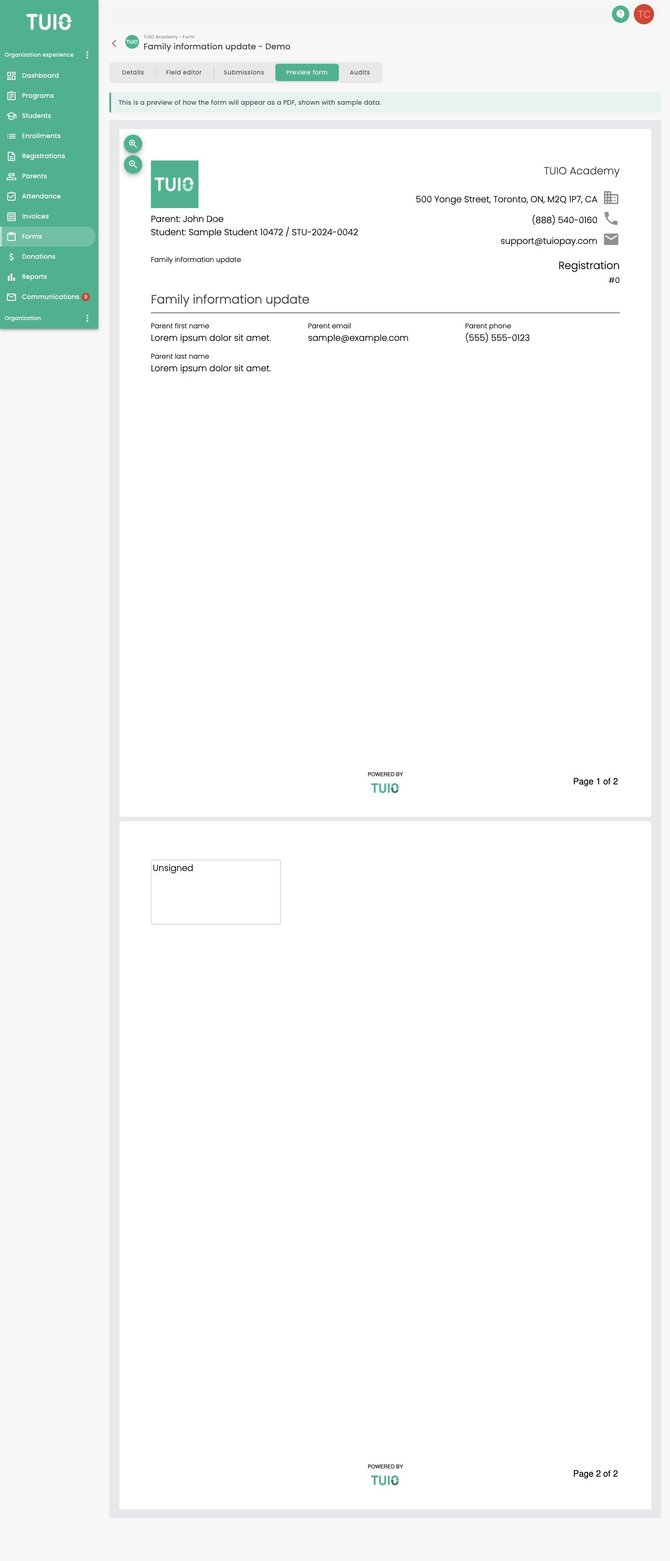
Place a page break before a field to start it on a new PDF page. The PDF preview shows contact questions on page 1 and the signature on page 2. Check the generated PDF after changing your layout.
Open the full-size PDF preview example