This video walks you through the key points — it’s the best way to understand everything in just a couple of minutes. Note the Reports tab location has changed (read below).
Further Reading
The Reports feature allows you to template and run custom reports of student (and enrollment) data for class lists, progress reports, student folder print-outs, and other reporting purposes.
To get started, go to the Reports tab, and click Students from the menu at the top. Click the Custom report builder card and Create template to create a new student report.
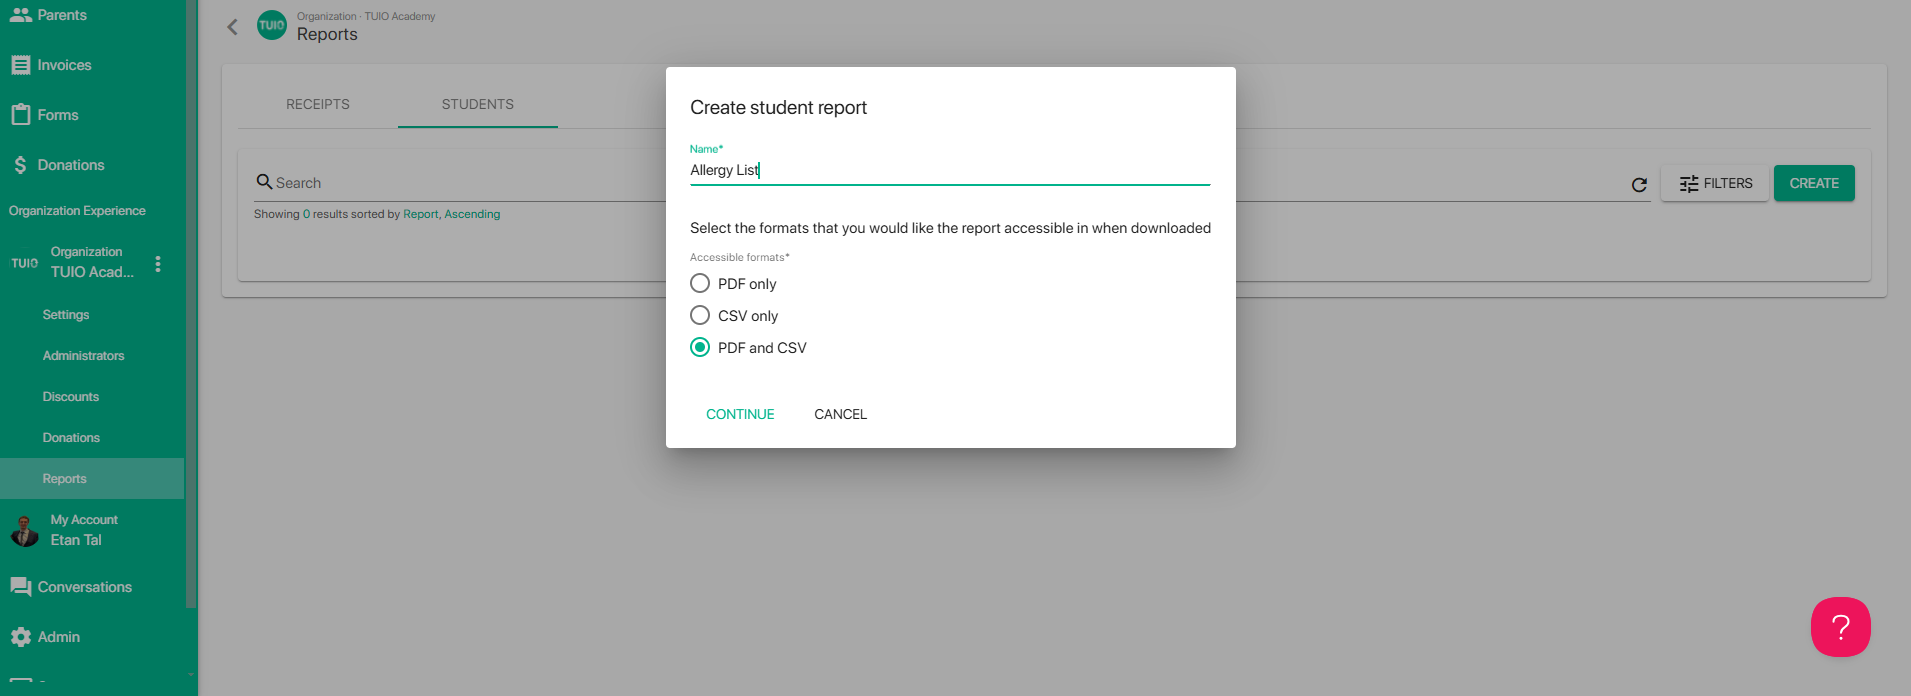
You can choose the accessible formats for the report - the "PDF and CSV" option is best since it will provide the flexibility to choose either option any time you run the report.
- PDF - one PDF file will be generated for each student selected when downloading the report
- CSV - this will generate a spreadsheet with columns for each field included on the report, as well as the student names and ID numbers
Once the report has been created the next step is to build the report template from the Field Editor tab.
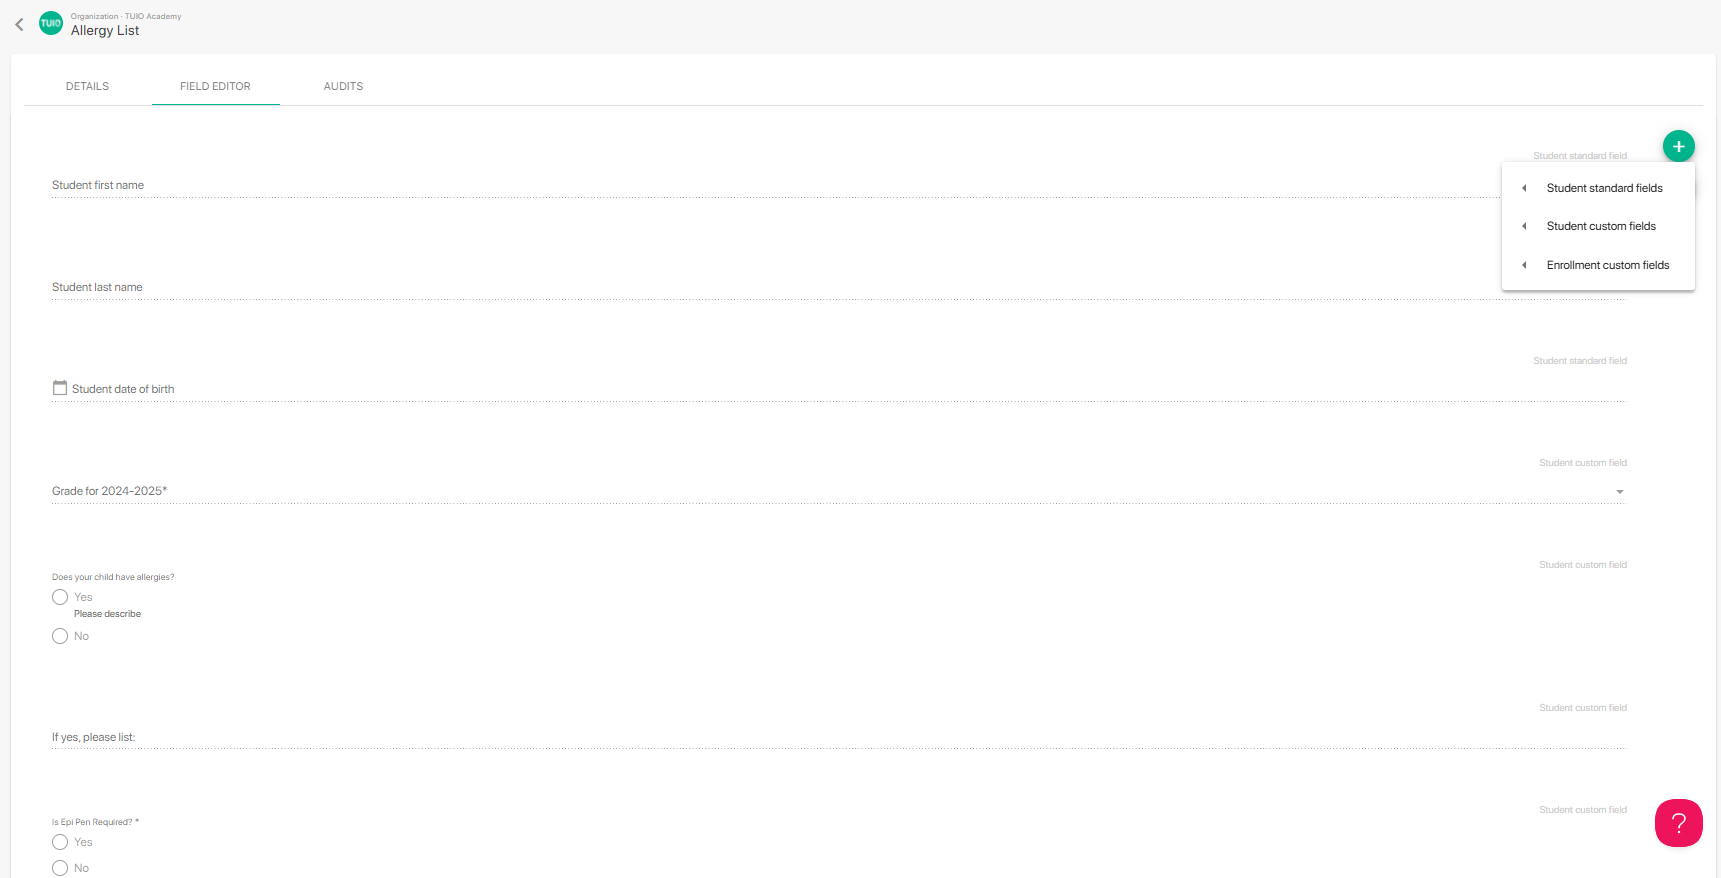
Existing Student or Enrollment standard and custom fields can be added on the field editor of the report, similar to building a form from the Forms tab. It's not possible to add new fields on this field editor, so those need to be created on the Forms tab first.
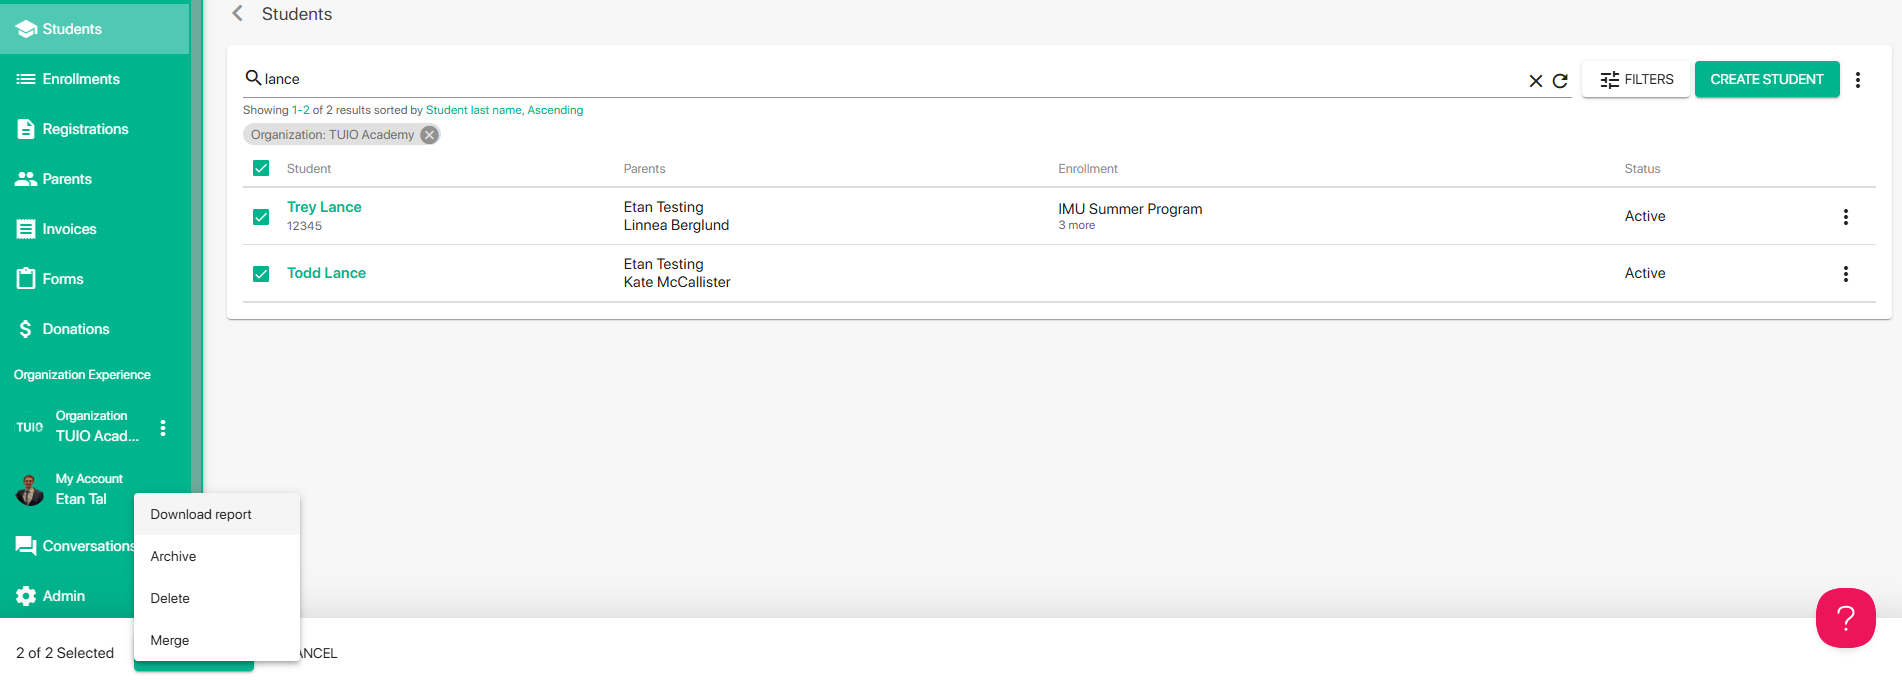
Once the report has been built you can run the report from the Students tab, either for one student or a selection of students.
- Click the 3 dots to the right of a student to Download report for one student at a time.
- Click the checkboxes for a selection of students to Download report in bulk from the Actions button.
When you click Download report a dialog will pop up where you can choose the report from the dropdown, as well as the Format, if applicable.
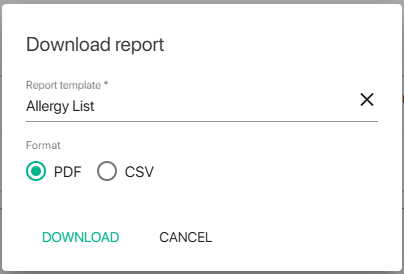
Depending on the format and size of the report file(s) you will either receive a direct download in your browser, or the file will be sent by email once it has processed.