This video walks you through the key points — it’s the best way to understand everything in just a couple of minutes.
What Are Registration Tags?
Registration tags are a convenient and customizable way to organize and manage applications and enrollments in the Registrations tab. Tags can be applied to individual registrations or in bulk and help streamline filtering, reporting, and decision-making.
Tags are labels you can apply to student registrations to indicate important details such as:
- Sibling status
- Age group (e.g., "Toddler")
- Enrollment stage (e.g., "Completed Tour")
- Program type or level
Tags are linked to registrations, not students—so the same student can have different tags if they're enrolling in multiple programs.
How to Apply Tags to a Single Registration
- Go to the Registrations tab.
- Click the Registration ID number (in green) to open the student's profile.
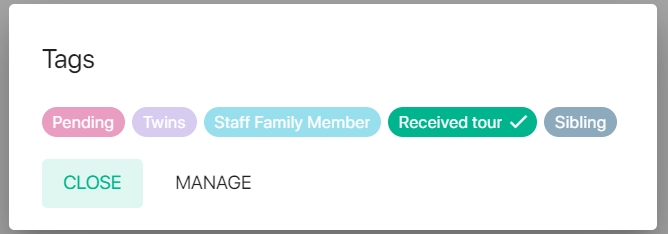
- In the Tags section, click the “+” or draw icon to view or manage existing tags.
- A pop-up window will appear.
Click on any existing tag to apply or remove it.

Creating or Editing Tags
- In the Tags pop-up window, click Manage.

- From here, you can:
- Create a new tag.
- Edit or delete existing tags.
- Reorder tags by dragging the bars next to each one (affects how tags appear in the filter list).

- Create a new tag.
- When creating a new tag:
- Give it a name (e.g., “Sibling”).
- Choose a tag color to help identify it quickly.
- Give it a name (e.g., “Sibling”).

Click Create to save your new tag.
Applying Tags in Bulk
To tag multiple registrations at once:
- In the Registrations tab, check the boxes beside the registrations you want to update.
- Click Actions > Manage Tags.
- Select the tag(s) from the Tags dropdown.
- Click Save to apply the tags.
These tags will now appear next to each student’s name on the Registrations list, including those on a waitlist.
Remember that tags are linked to the registration rather than the student, allowing the same student to have different tags if they are registered for multiple programs.
Filtering by Tags
To find registrations with specific tags:
- Click the Filters button in the Registrations tab.
- Select one or more tags in the Tags filter.
- The list will update to show only the registrations with the selected tags.
Example: Filter by the “Sibling” tag to quickly to conveniently bulk enroll siblings.

Exporting Filtered Data
After applying tag filters, click Export to download a report that includes only the filtered results. This is helpful for generating billing or enrollment reports based on tag criteria.