f. How to Edit a Payment Plan
Once you have created a payment plan you have the capability to edit the payment plan, as needed, at any time. Importantly, with this edit capability you will not be impacting existing enrollments that have their payment plan set already; any edits will only apply to future enrollments.
This provides you the flexibility to adjust the payment plan on the fly and make changes that may only be necessary for new enrollments. For example, you may find yourself deleting and adding invoices in the plan to correspond to a new enrollment period. This way you can avoid creating additional programs and payment plans, and keep your tabs clean and optimized.
Edit Payment Plan Invoice
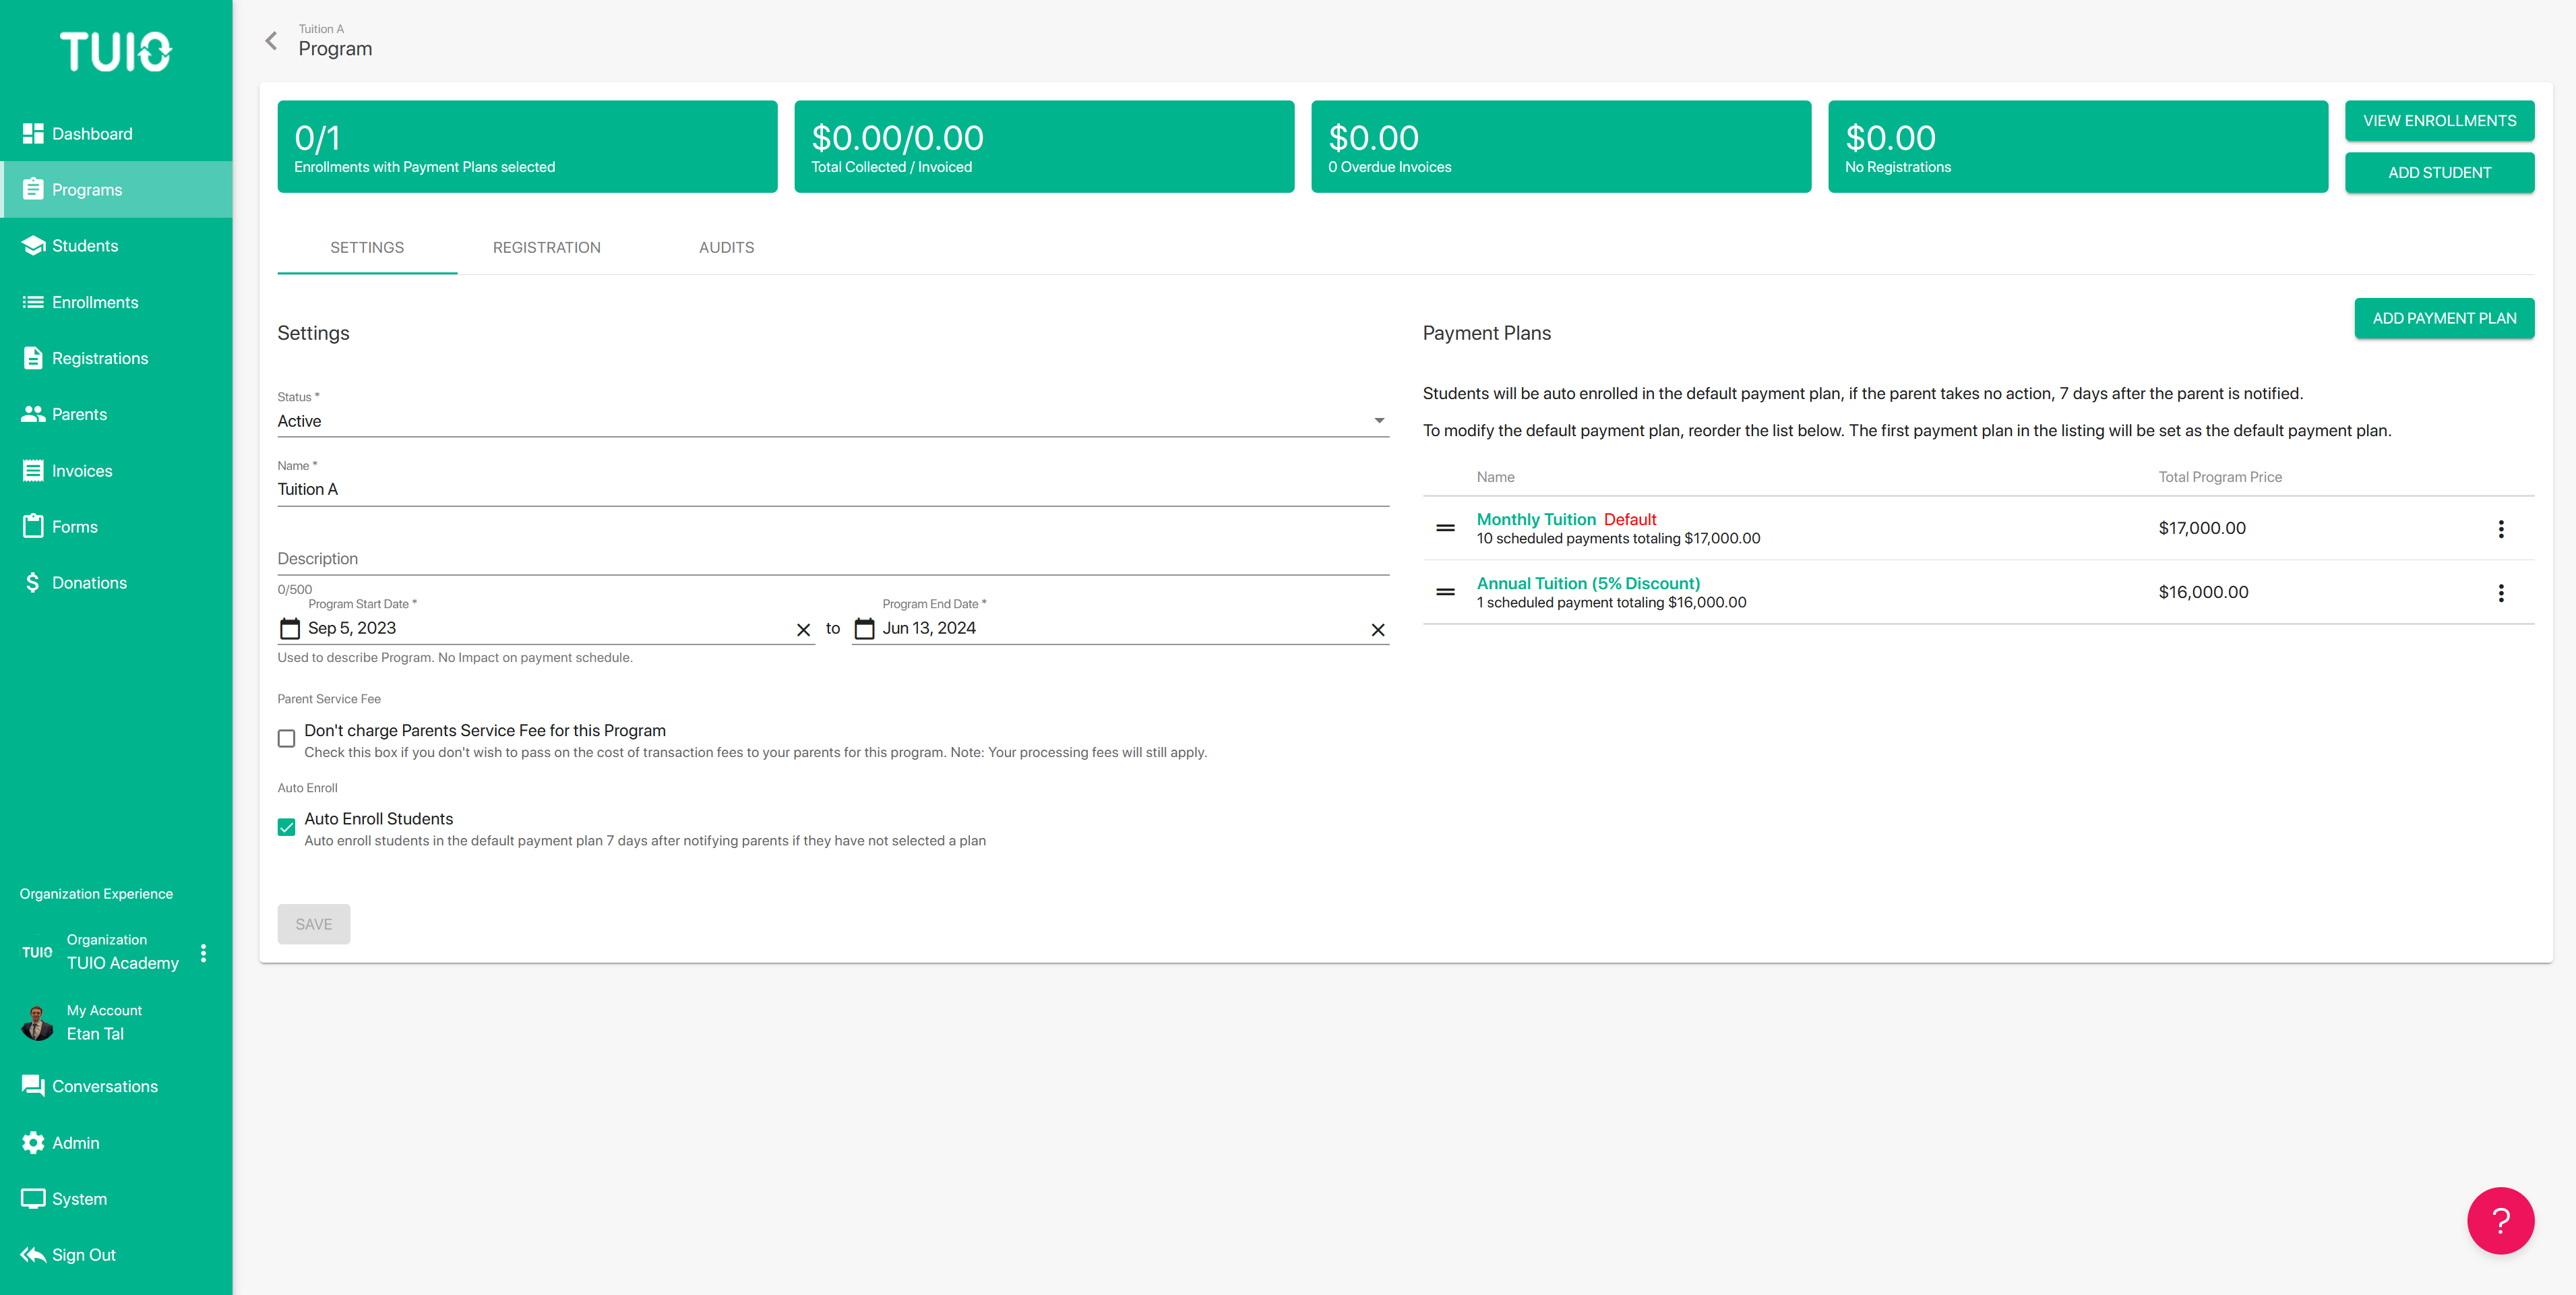
To edit an invoice on the payment plan, first click the name of the plan in green:

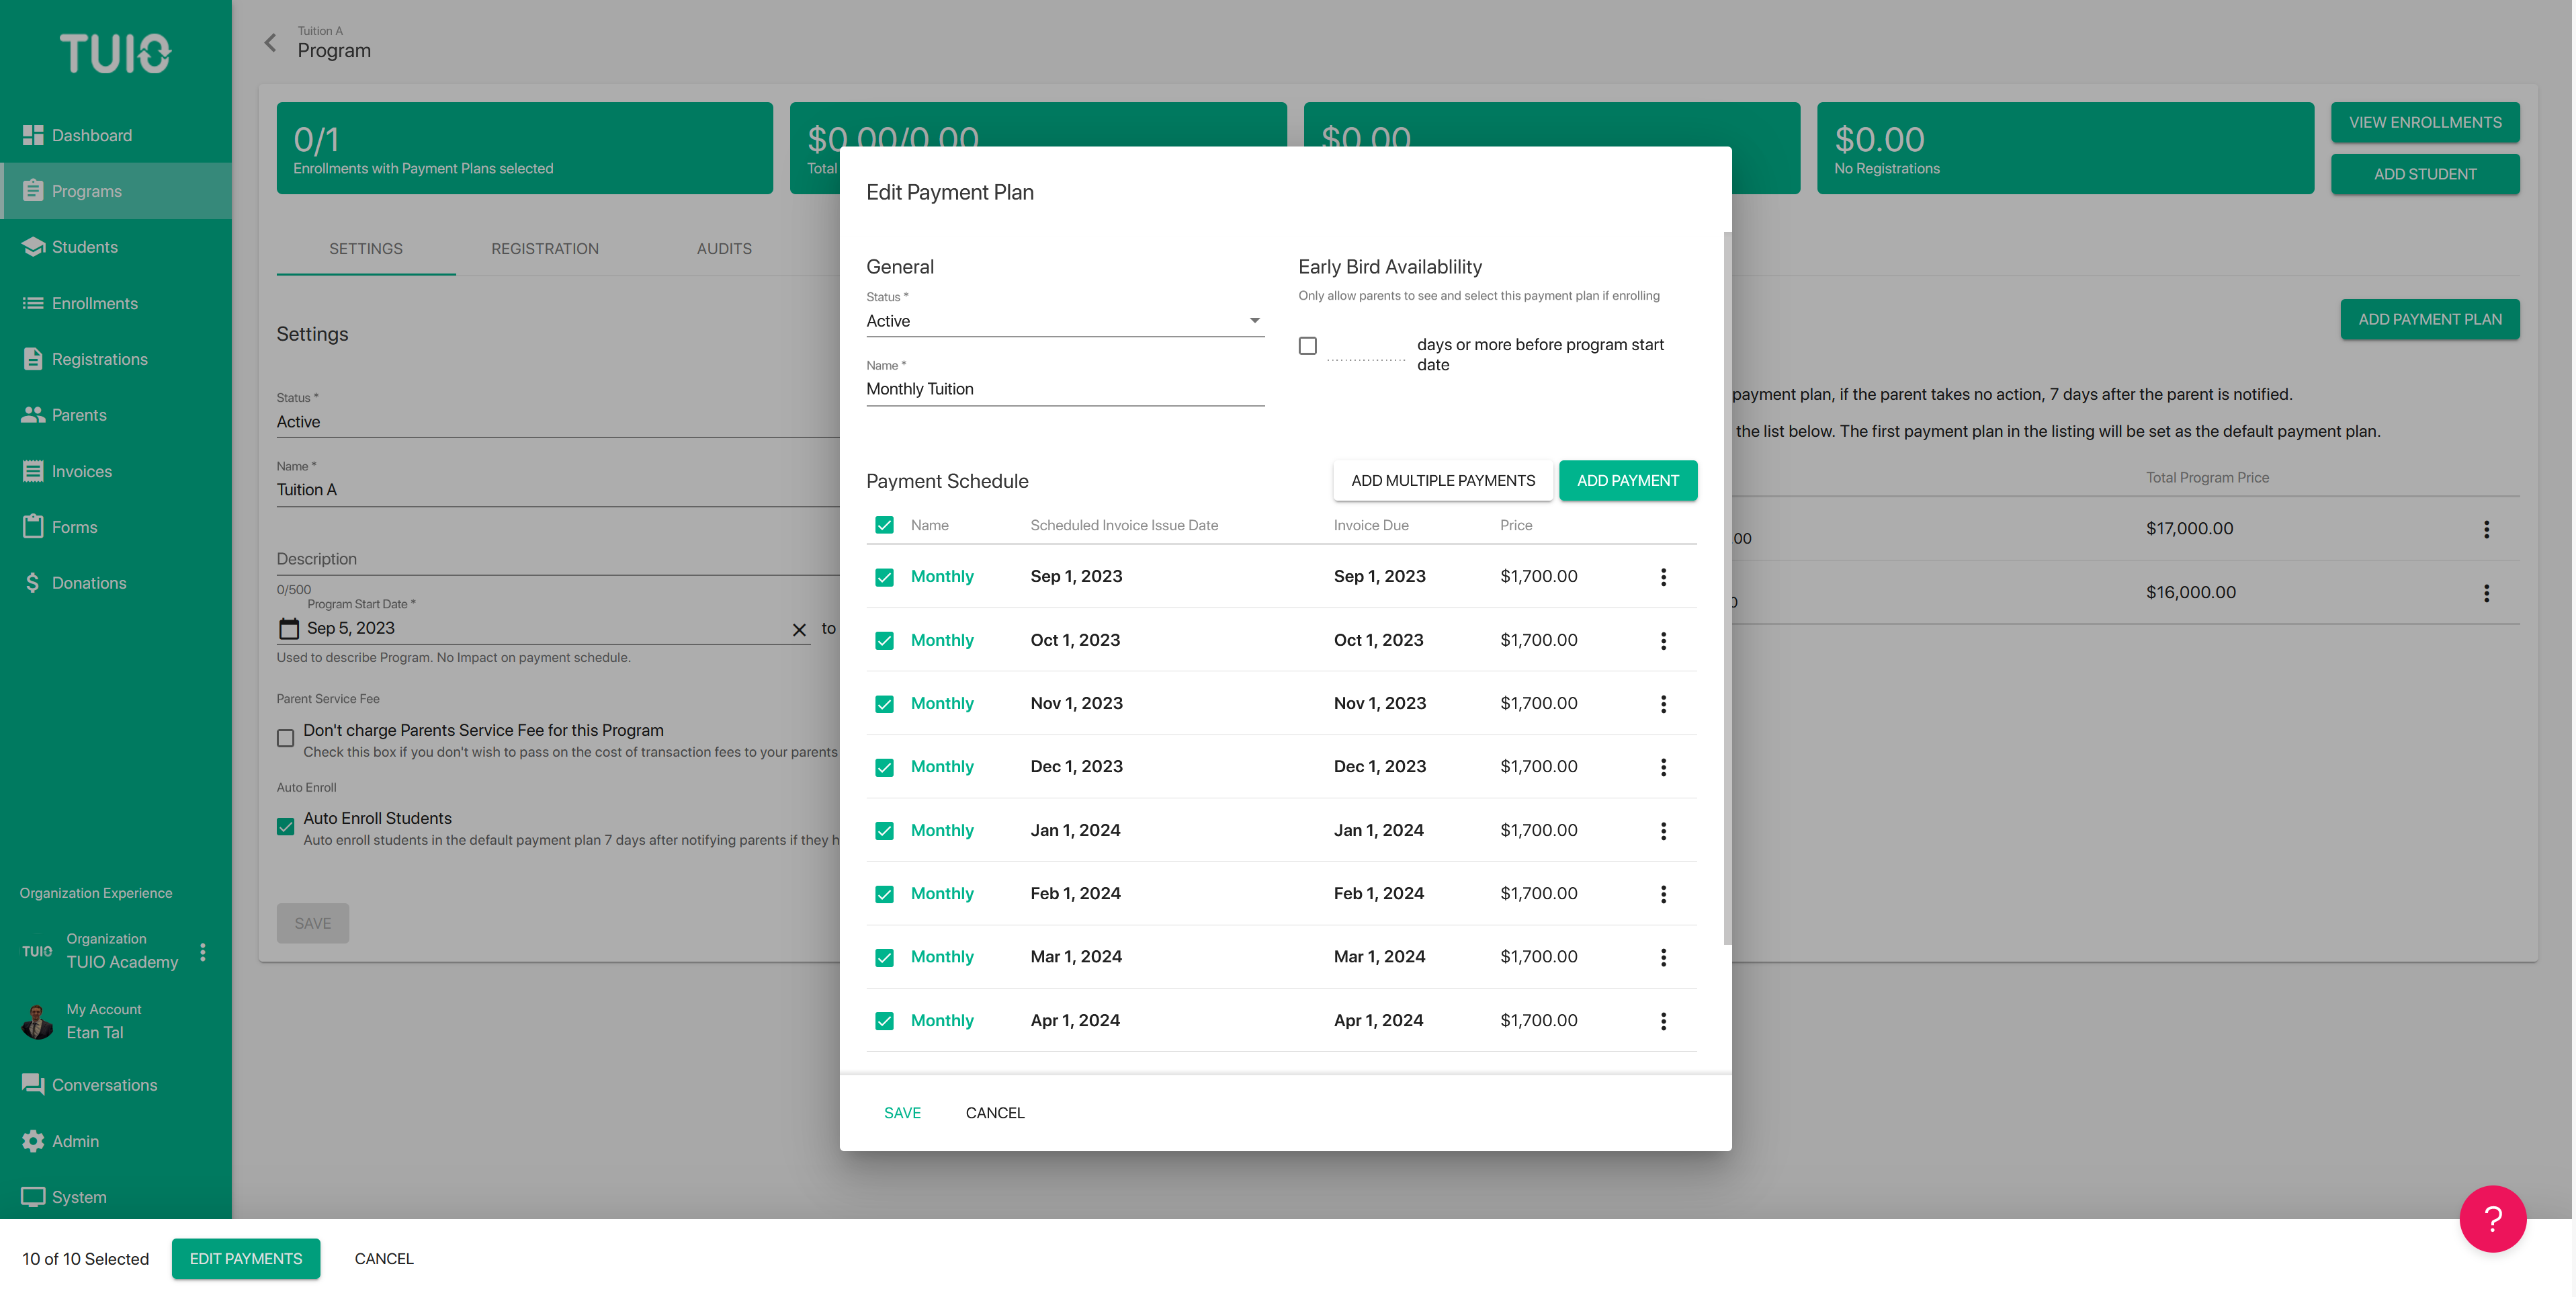
Once you are in the plan you wish to edit, just click the name of the invoice and you will be able to edit all relevant information such as: pricing, line item detail, invoice name, deposit (upfront/scheduled, discounts allowed), etc.
Bulk Edit Payment Plan
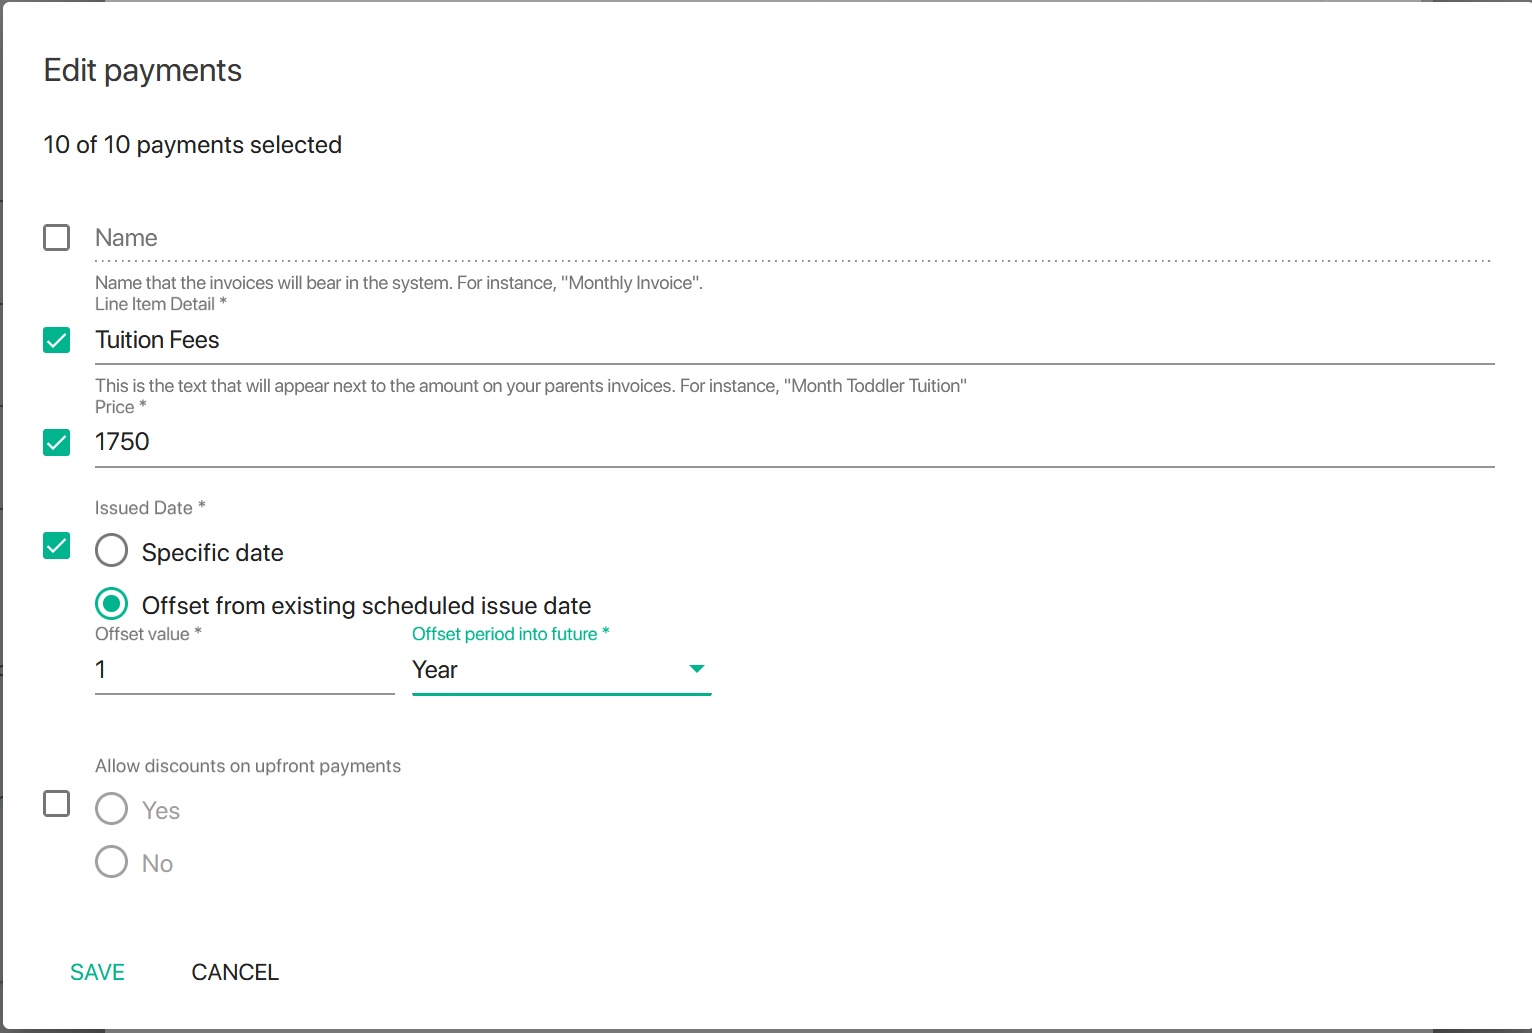
Here you can click the checkboxes for any fields you want to edit, and enter the changes to apply:
- Name: change the name on the invoices.
- Line Item Details: add details to describe the invoices.
- Price: bulk edit the price to the correct rate for the new program.
- Issued Date: the first option allows you to change all the invoices to the same Specific date. In most cases the more relevant option is to 'Offset from existing scheduled issue date'. Here you can add a value, and choose the Offset period (week, month, or year) to edit the dates in sequence. In the example above, the invoices will be edited to move forward 1 year from the existing dates.
- Allow discounts on upfront payments: if you have multiple upfront/deposit invoices selected you can enable or disable discounts on those payments.
If you want some assistance on best practices for this process, please email [email protected].


