How to Apply and Manage Registration Tags
Registration tags are a convenient tool to help manage the application and enrollment process on the Registrations tab interface. Tags are fully customizable and can be applied to student registrations at any time.
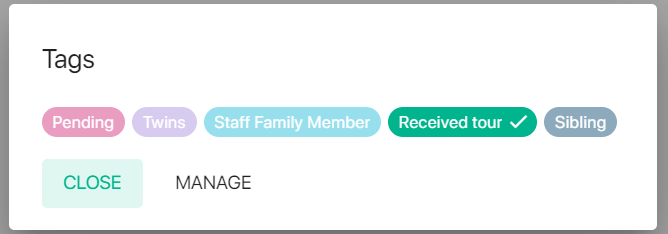
Click on the registration ID number to apply a tag to a student's registration. If the student has one or more tags applied those will be listed under Tags, and you can click Select to manage the tags for the student.
A dialog will pop up, and existing tags can be selected (or removed) by clicking on the tag.
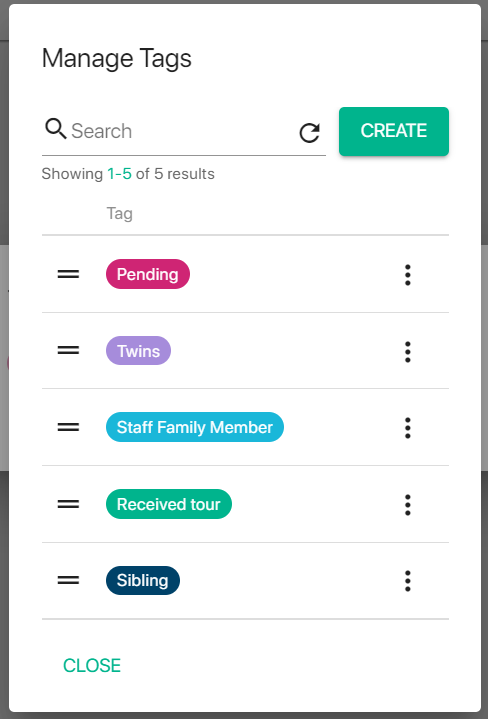
If you want to add a new tag, or edit or remove an existing tag, click the Manage button. You can also rank order the tags - for filter list purposes - by dragging the horizontal bars up or down.
Once the tags have been applied they will appear on the Registrations tab lister, so you can see the information at a glance, including on a wait list. Keep in mind that tags are applied to the registration, not the student, so different tags can be associated with the same student if they have registrations for multiple programs.
You can also filter for one or more tags from the Filters button, to isolate relevant registrations. For example, you can filter for Sibling tags to conveniently bulk enroll siblings.
Once you have applied the filters you can also click Export to run a report with the filters applied.


